
Barber Vintage Motorsports Museum
15 Weeks
Group and Individual Project
Birmingham, AL
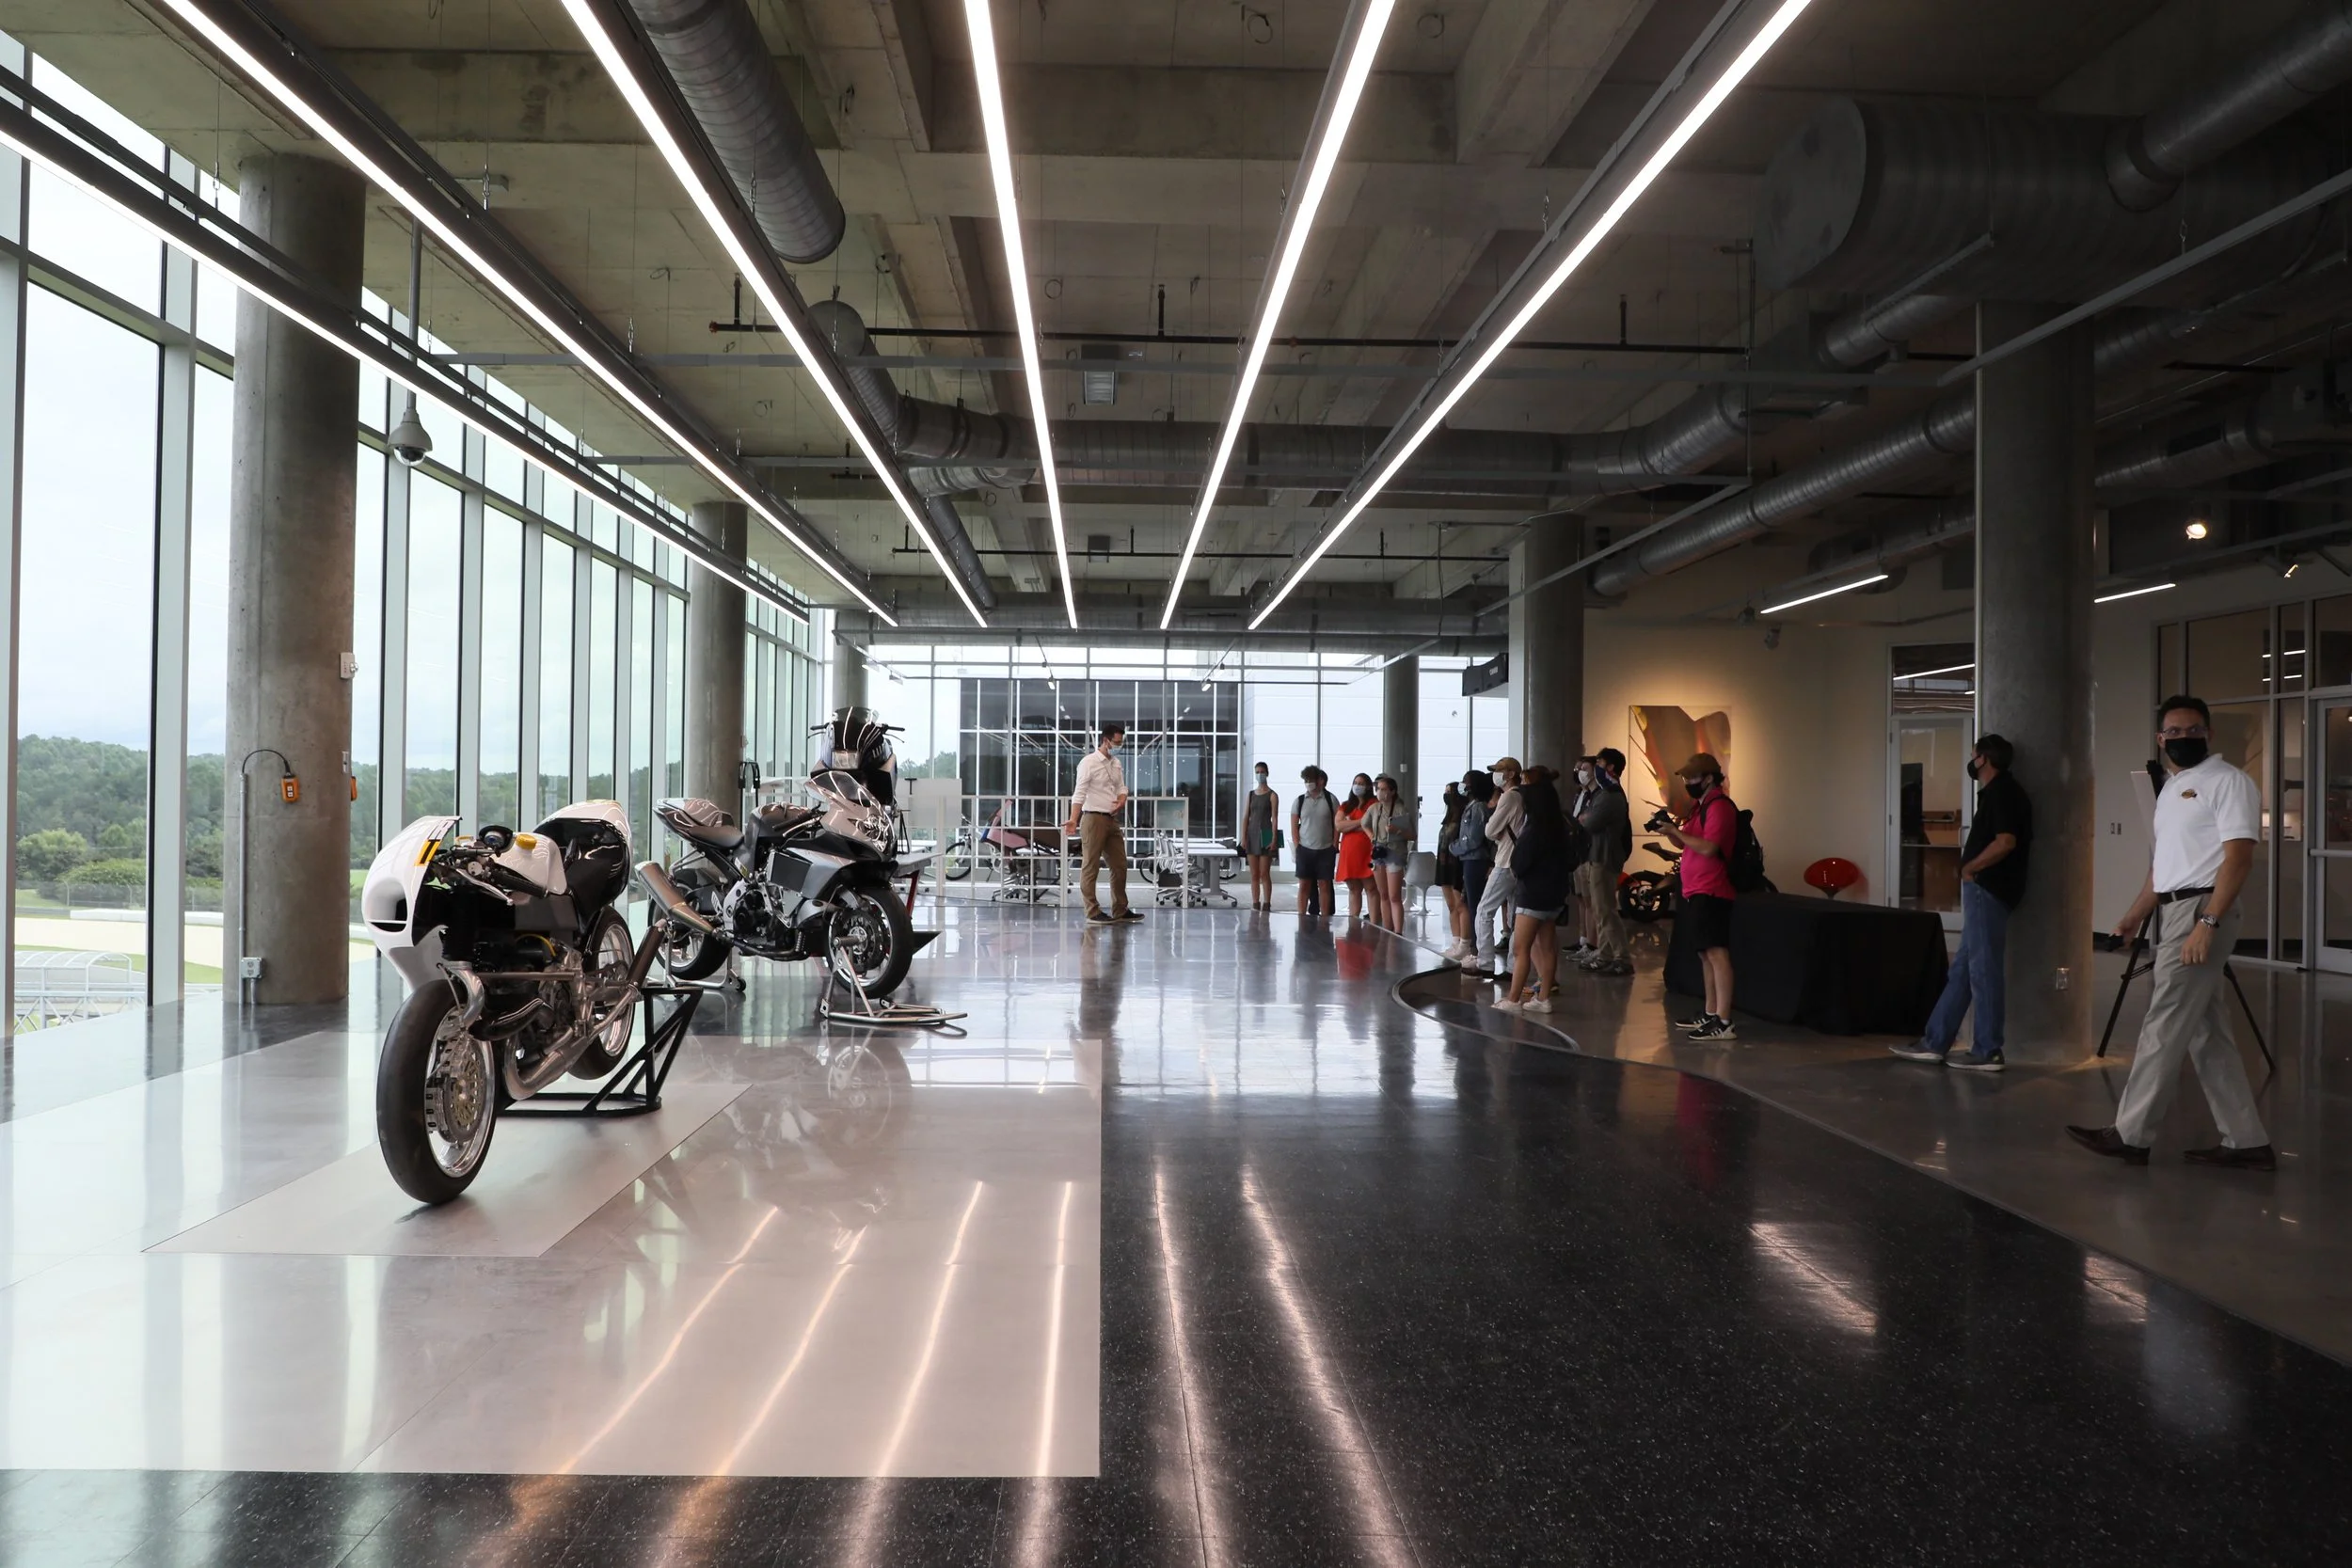
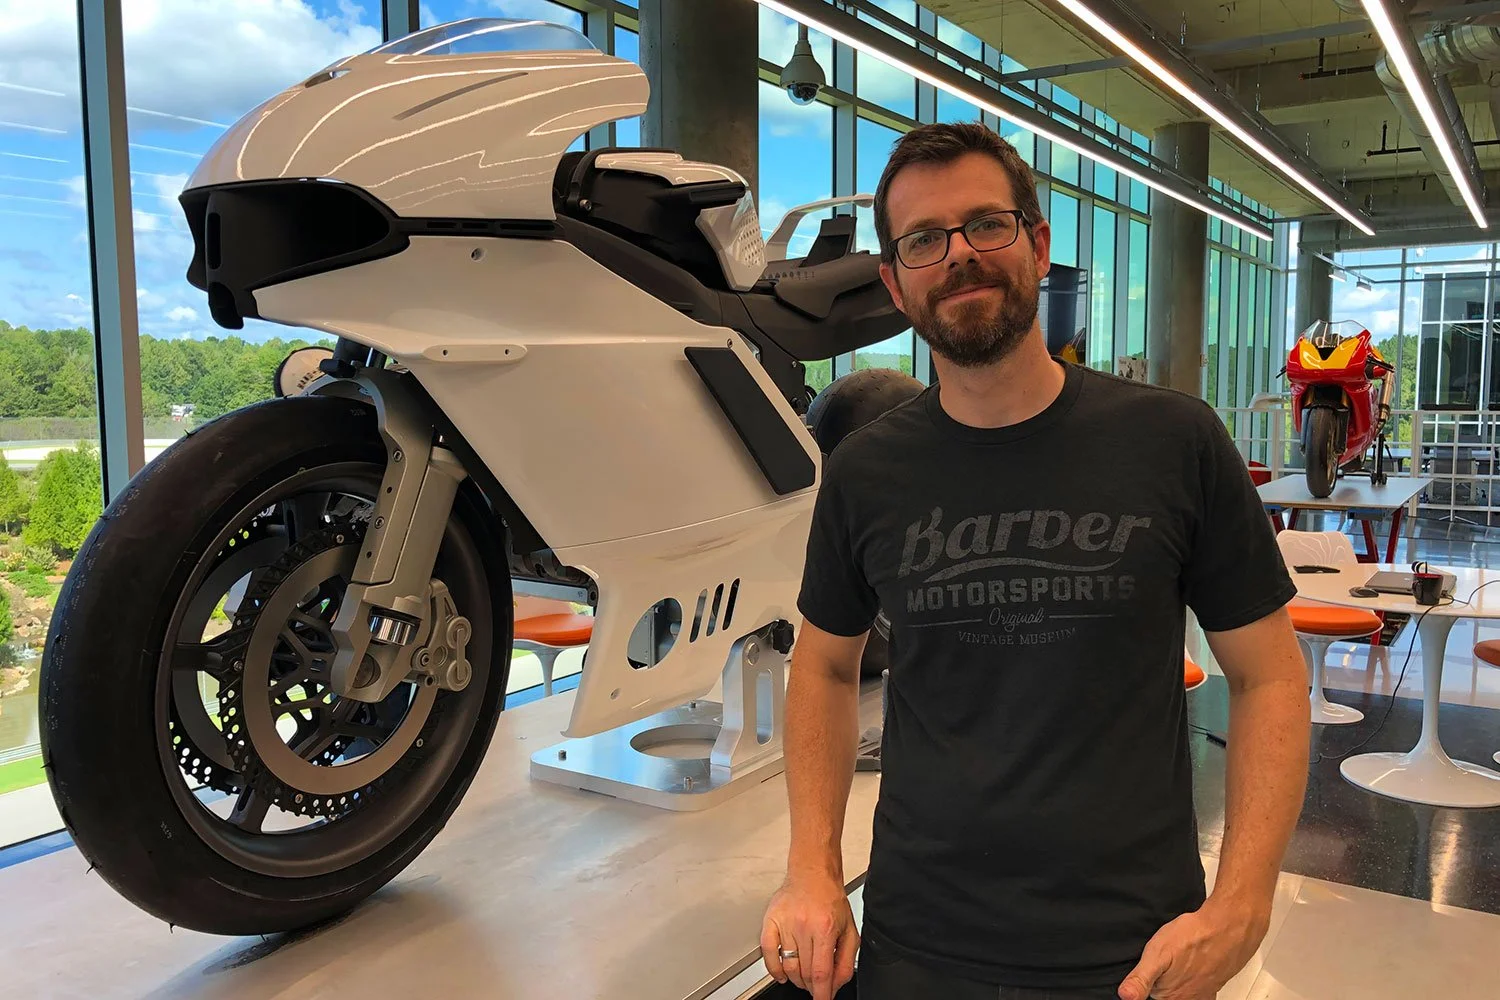
We were to design an exhibit for Barber Vintage Motorsports Museum showcasing the design process of motorcycles. We were told this third-floor hallway pictured above is where it would be held.
Beginning Steps
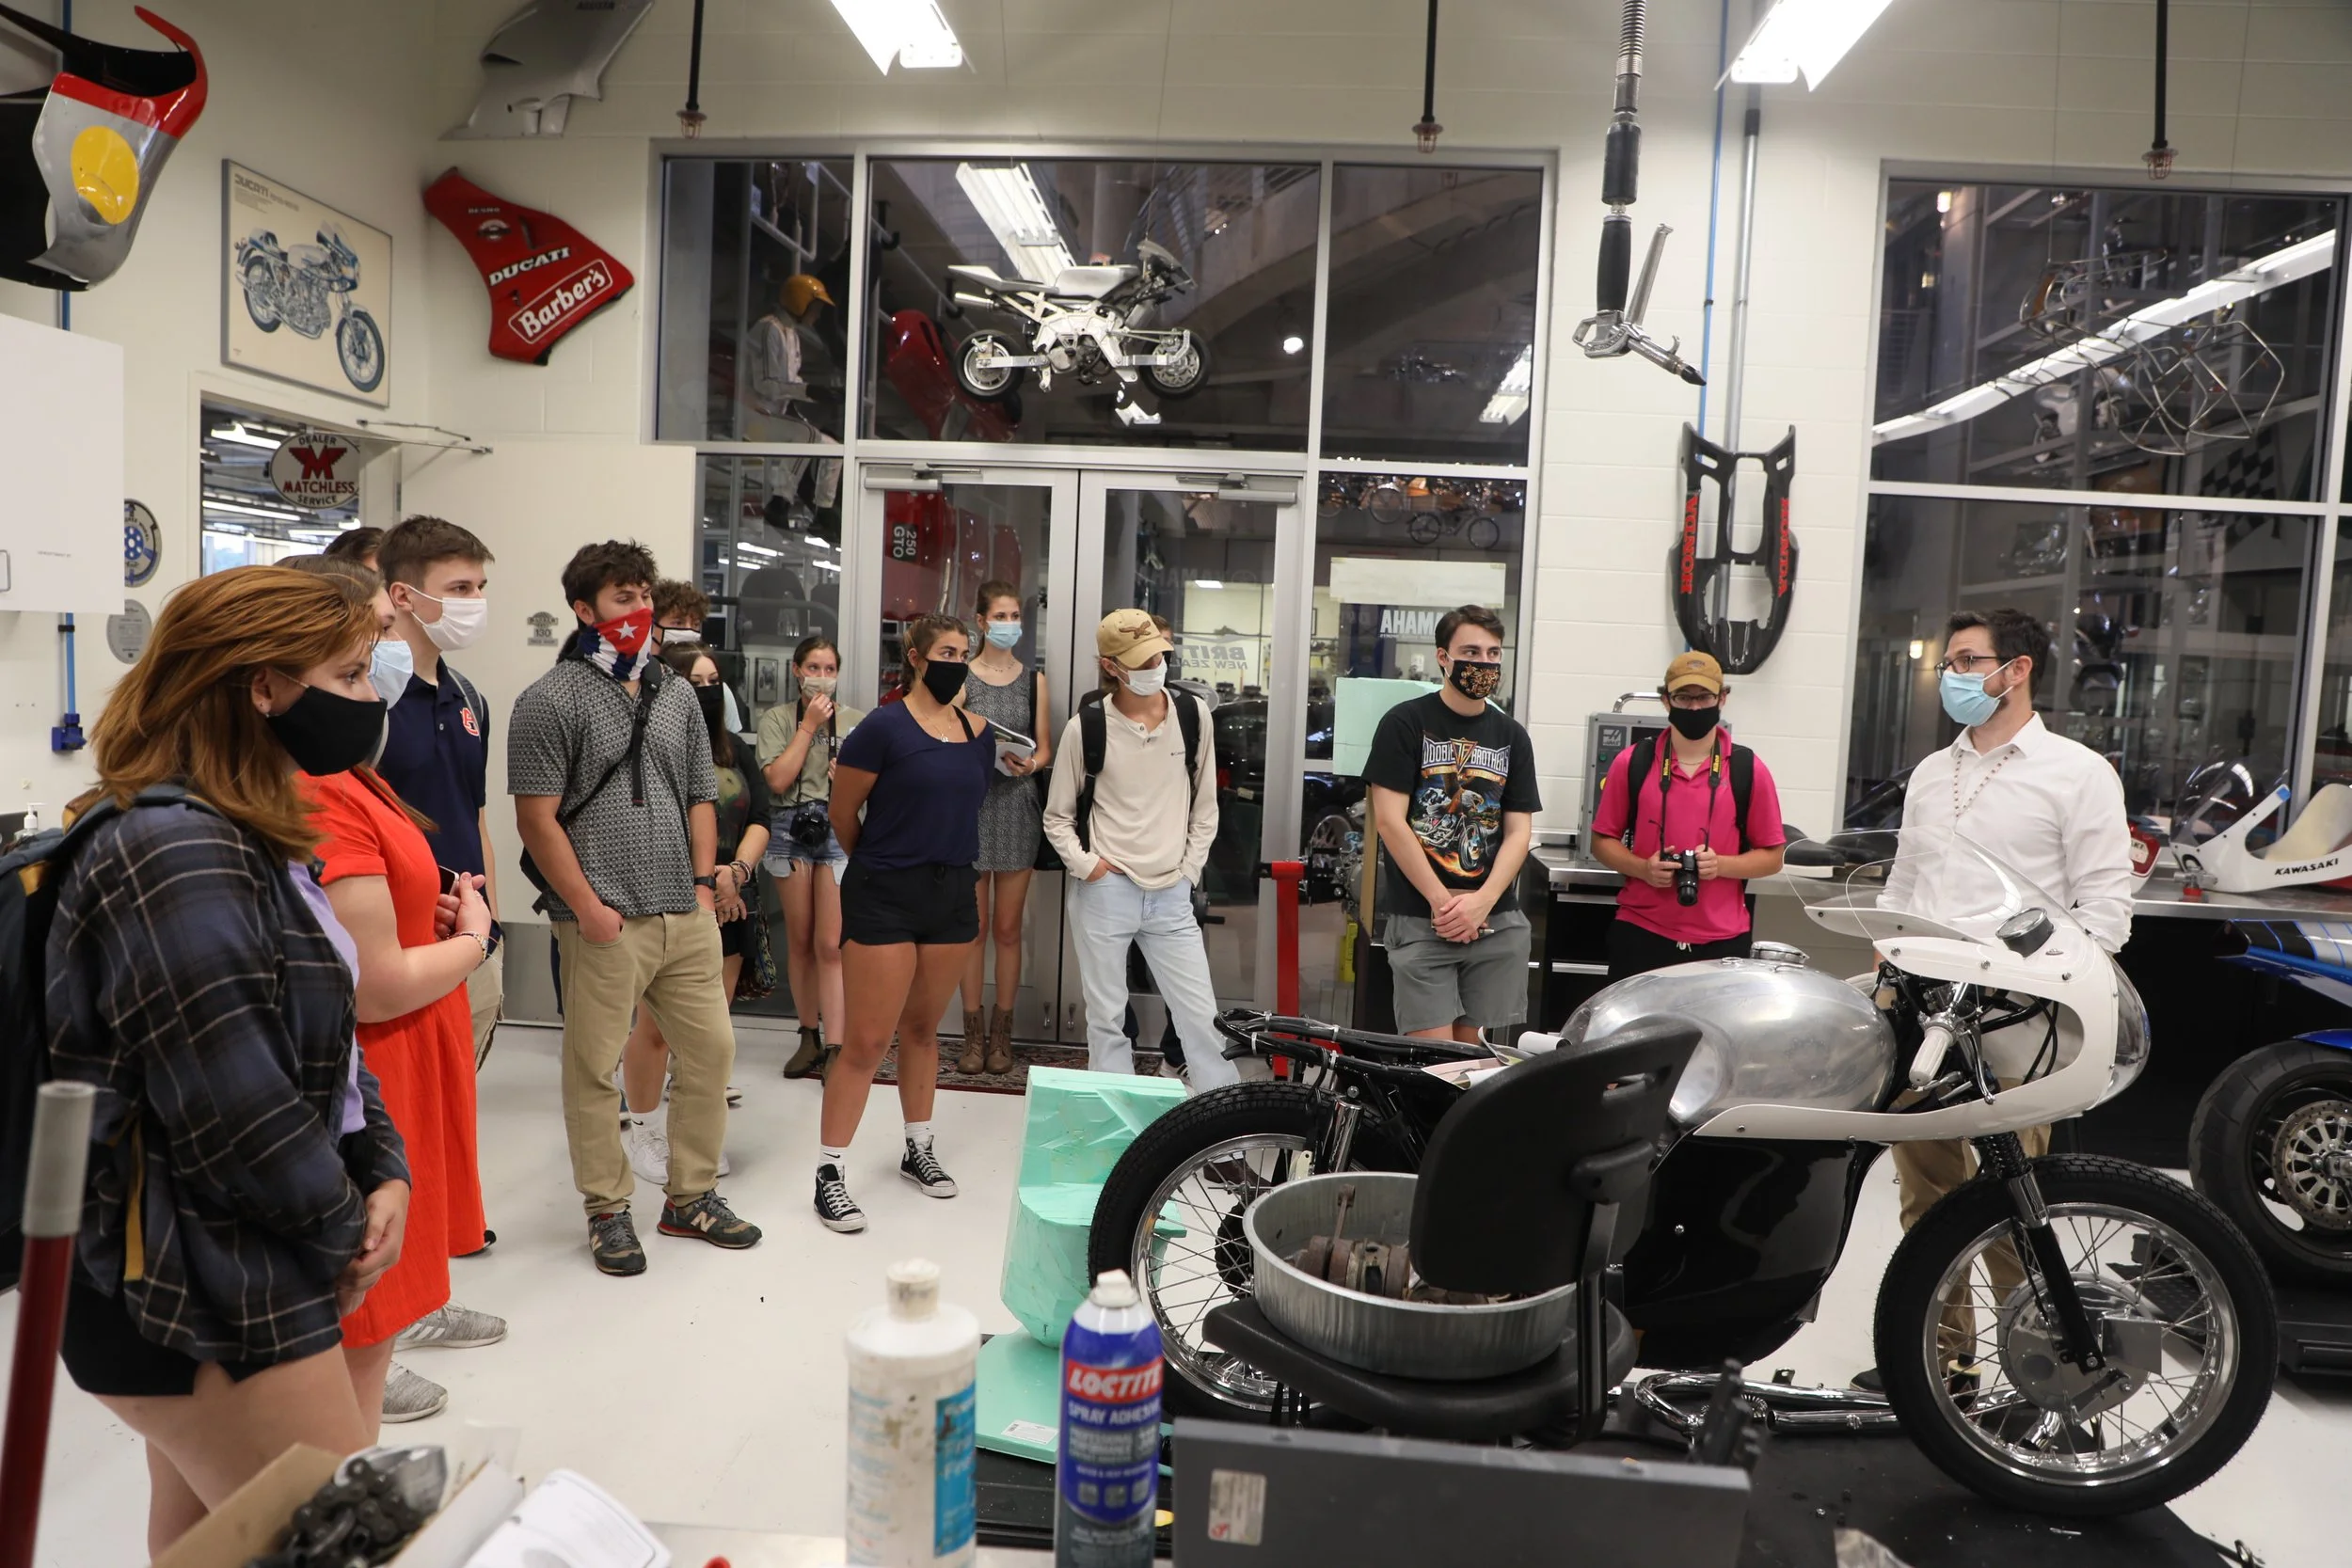
Visit Barber Vintage Motorsports Museum and study the space provided for the exhibit.

Build a strategy, taking inspiration from other exhibits and forms, then make a mood board.

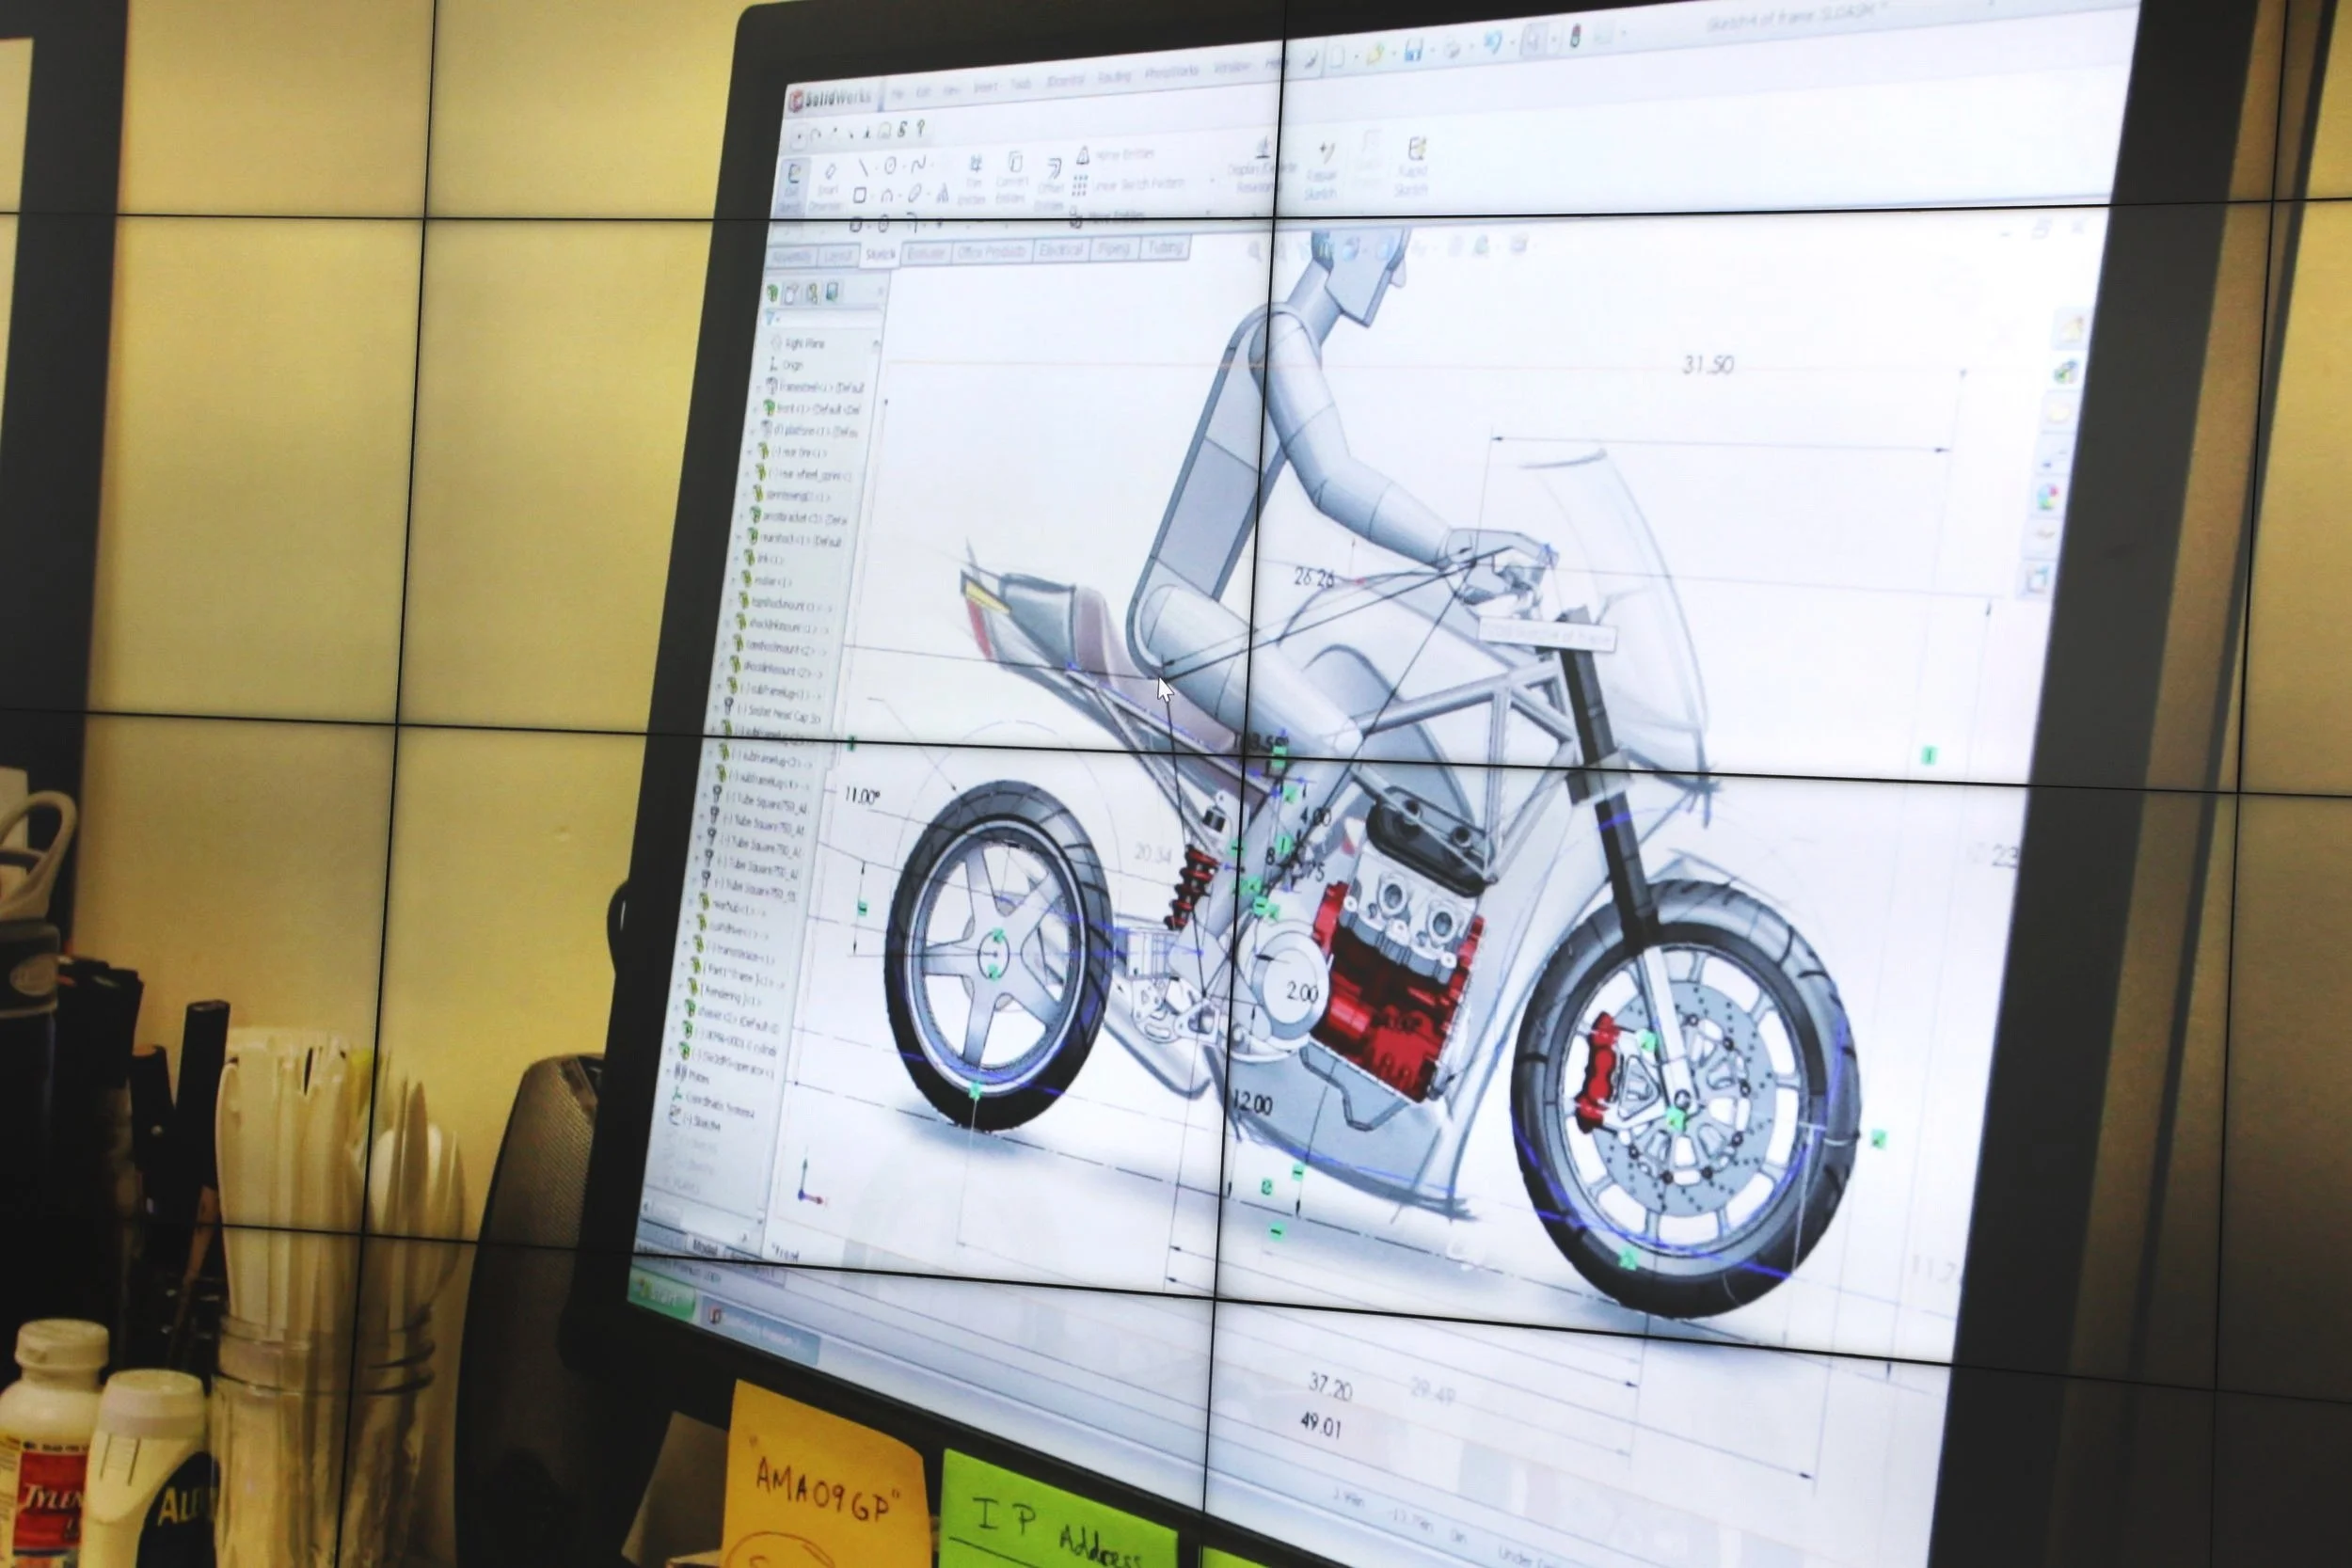
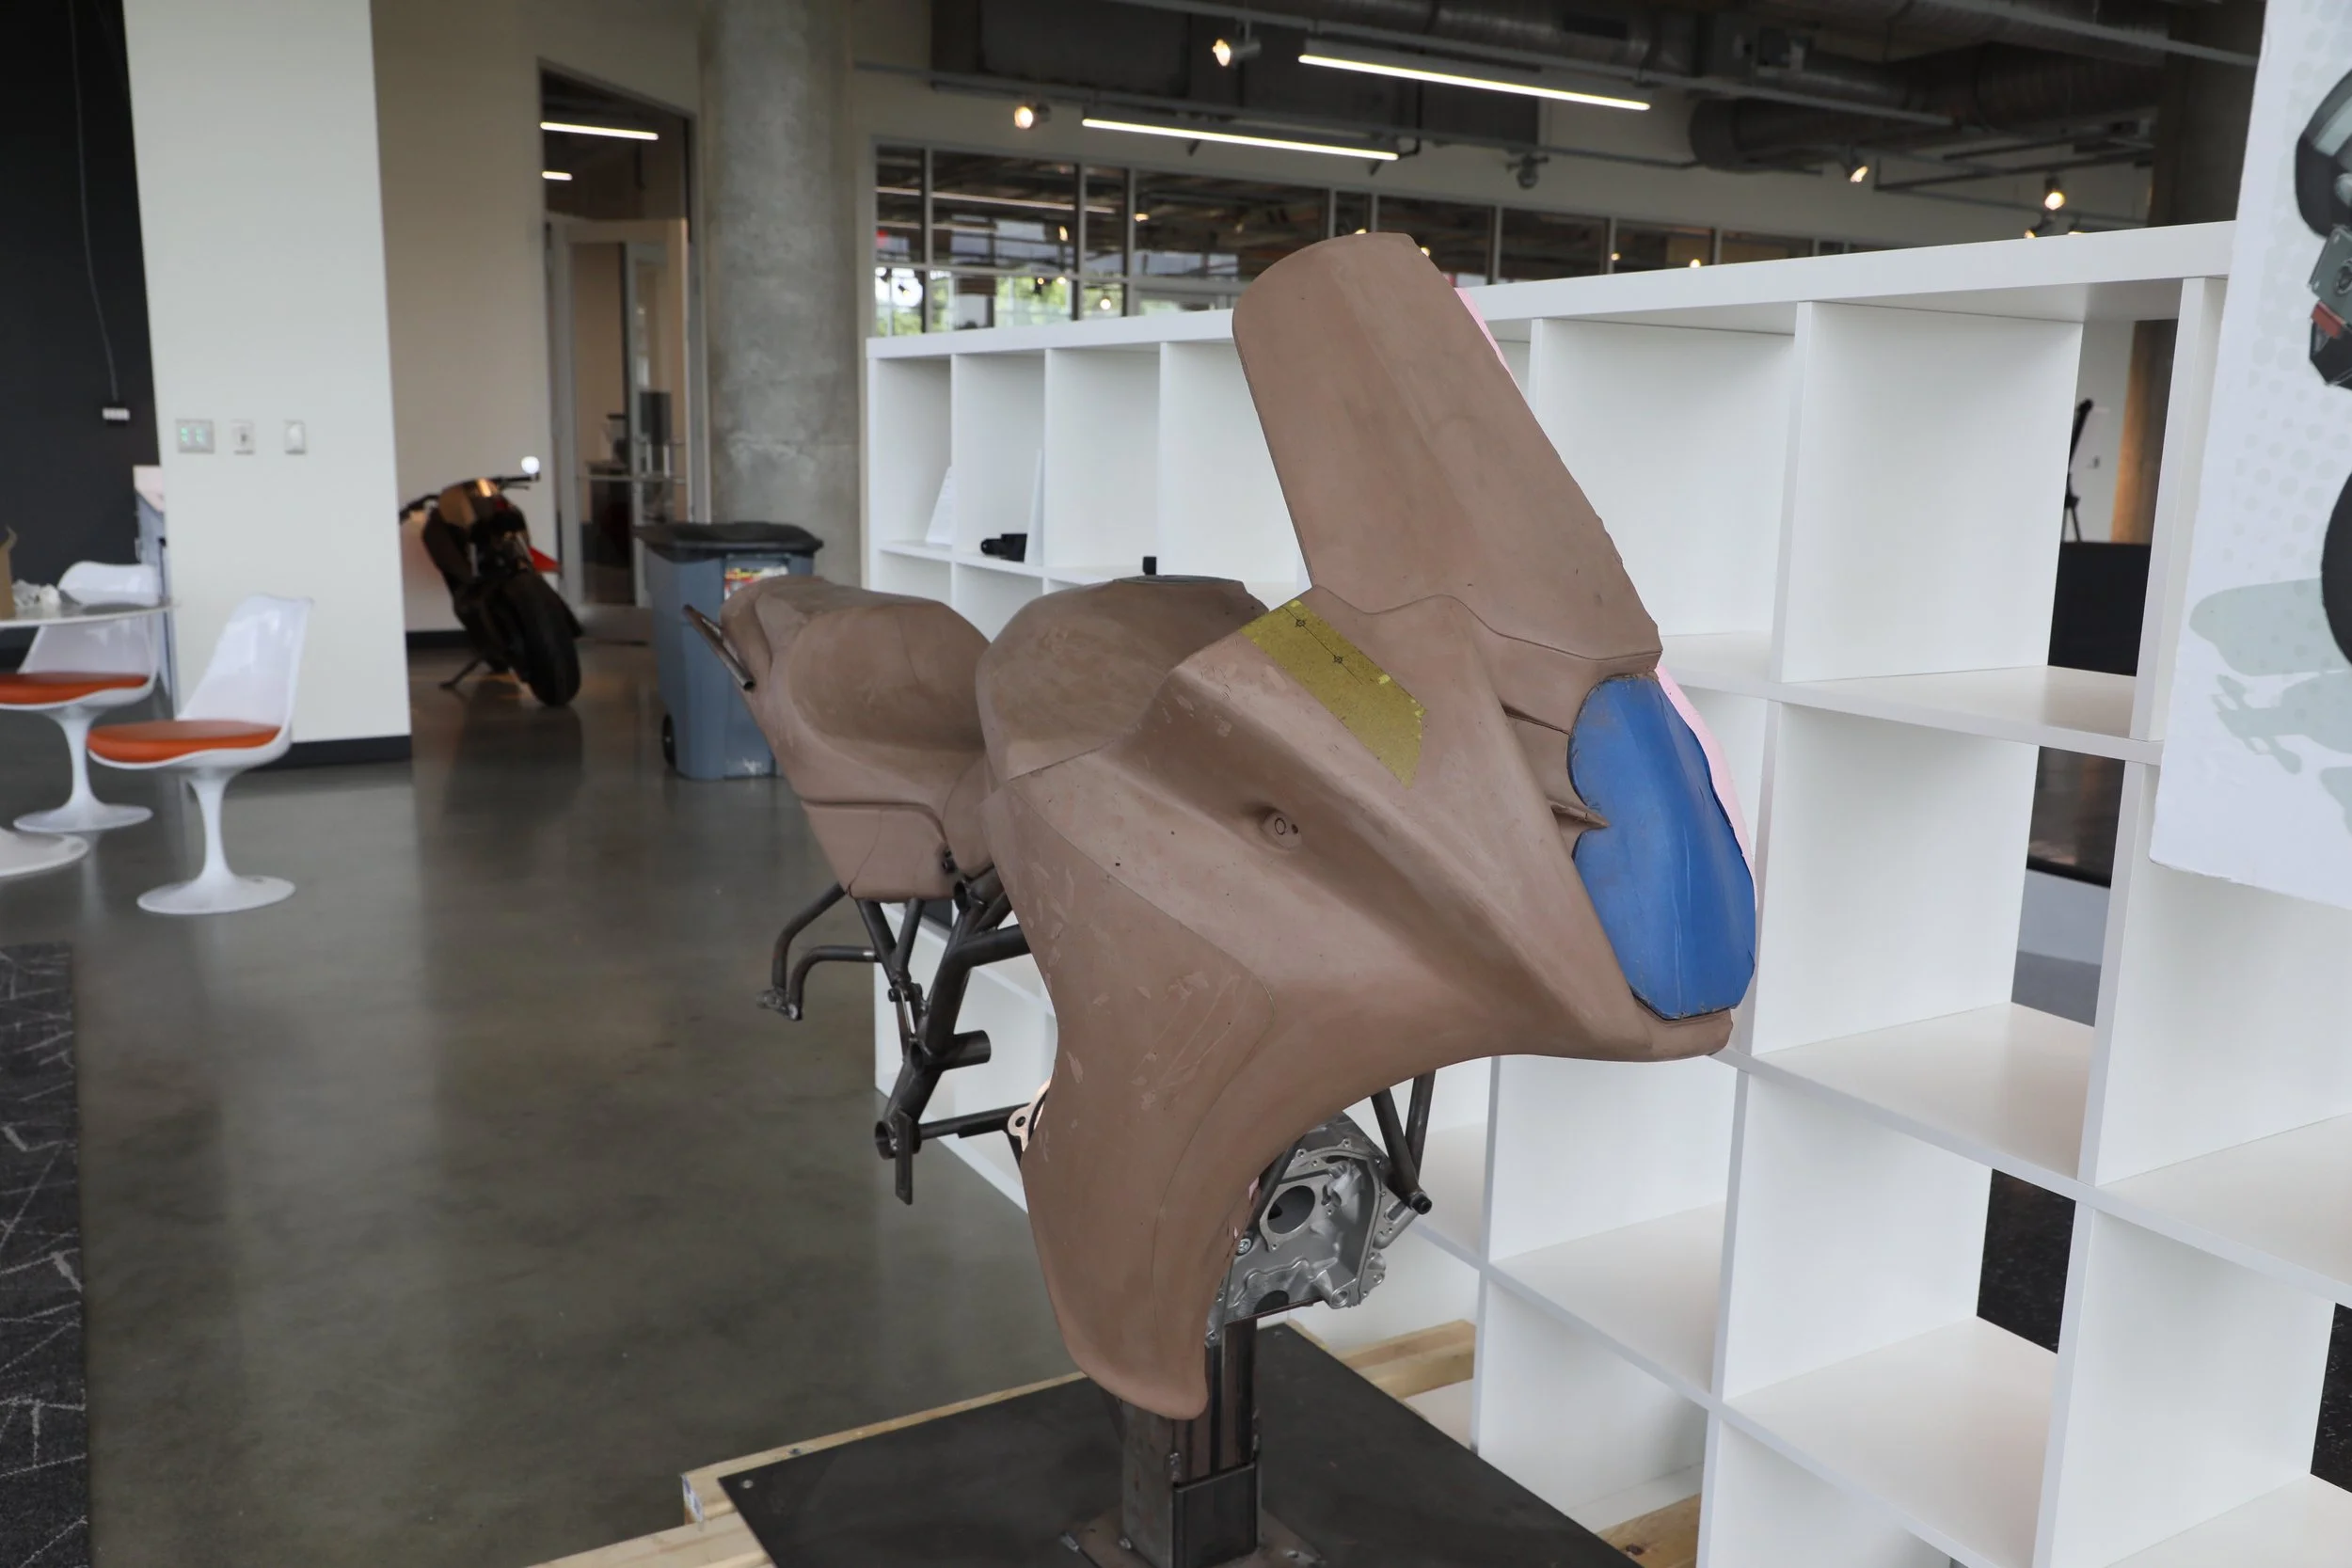
Learn what the design process of a motorcycle is actually like.

Create an immersive, informative exhibit that adheres to Barber’s brand while tastefully introducing a more futuristic design.
Goals Barber was looking for us to meet:
Constraints:
Time
3 months
Money
$2000

Materials
Durable & Transportable

Temporary
Easy Installation & Easy Take-Down
Phase 1
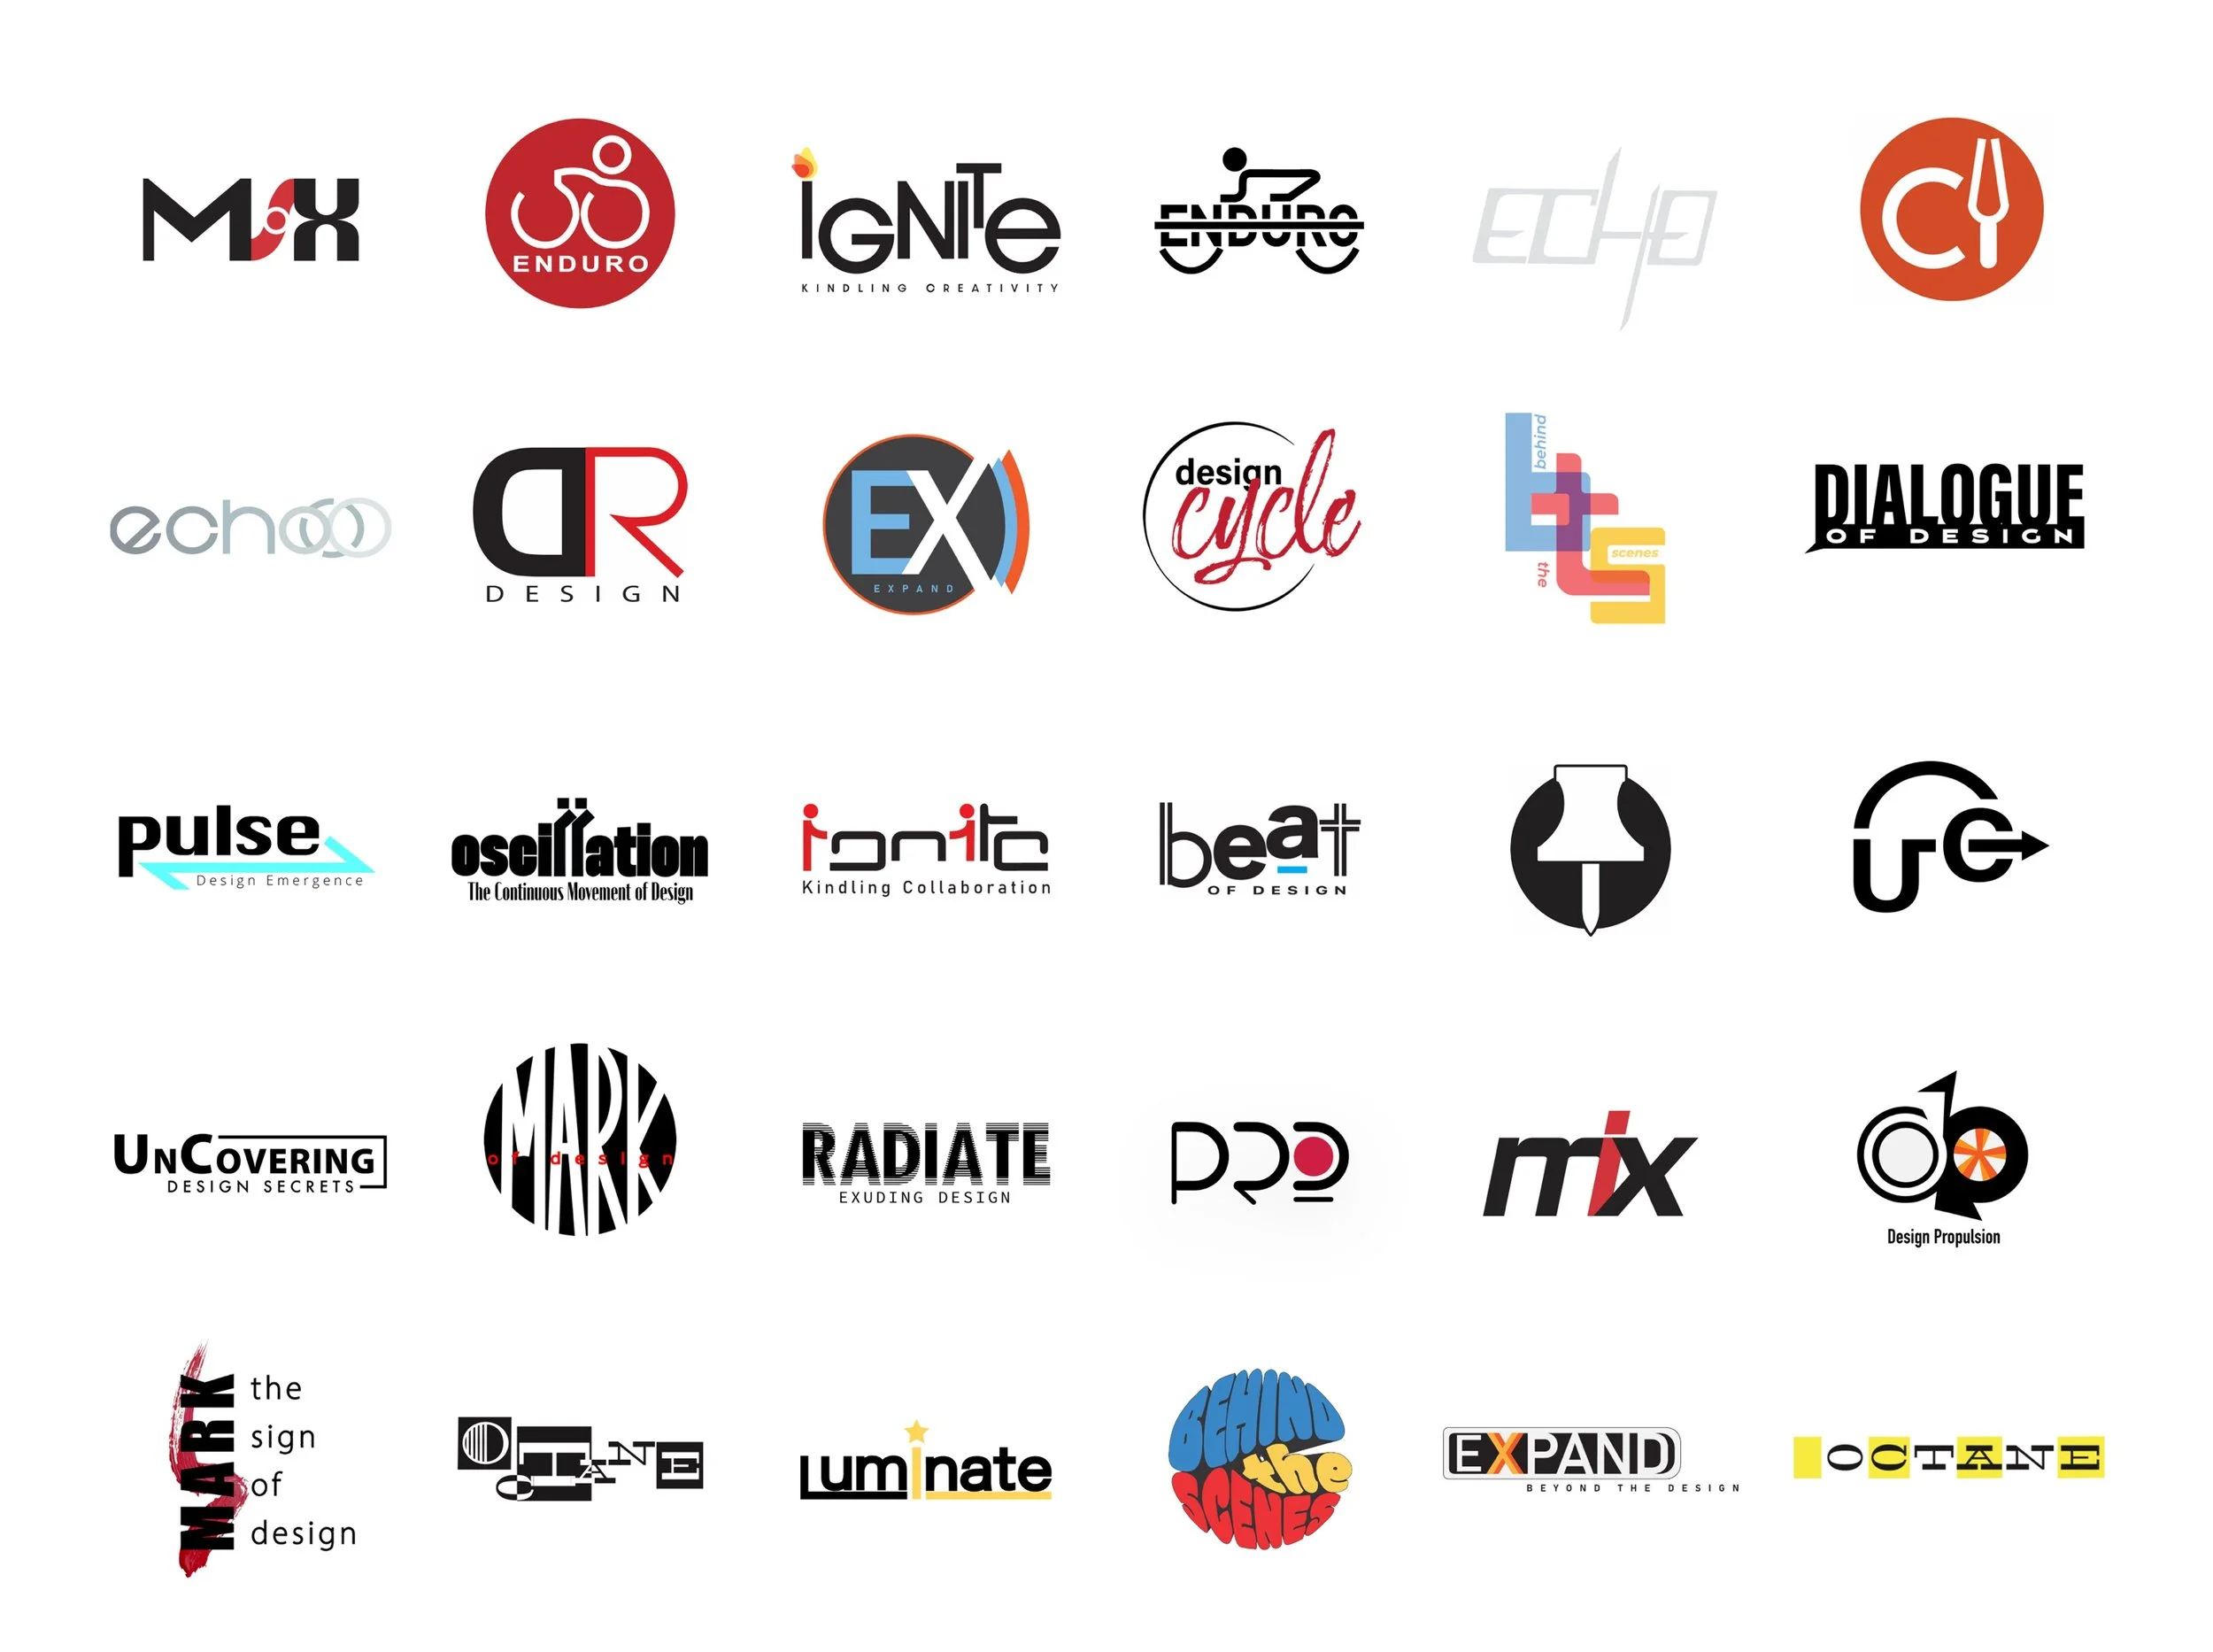
Logo and Exhibit Identity
Each classmate produced 2 developed logos and posters for their exhibit’s identity.
mine
mine


mine
mine
Museum curator, Brian Case, chose 3 classmates’ developed exhibit brands for 3 teams of 5 people to continue with.
I was assigned to team Design Cycle.

Phase 2
Initial Exhibit Design Ideation
Design Cycle

Round 1
What worked well:
Repeating circular flow
What didn’t:
Blocking natural light from windows

Round 2
What worked well:
Circular flow
Interactive elements
What didn’t:
Not a natural guide through the exhibit
Not enough distinction between the steps of the motorcycle design process
Team-generated concept
Round 3
What worked well:
Circular/wavy flow
Interactive elements
Distinction of steps in the motorcycle design process
What didn’t:
Too much set up labor and cost

Brian chose the team-generated concept for us to continue with.
Teams continue by developing infographics, exhibit elements and models in the third phase.
Phase 3
Exhibit feature ideation, layout, and first model.
Most of the work during this phase was Design Cycle’s team of 5’s effort to produce the first model.
Features Ideation
= Elements that were implemented into the model.

Intro wall
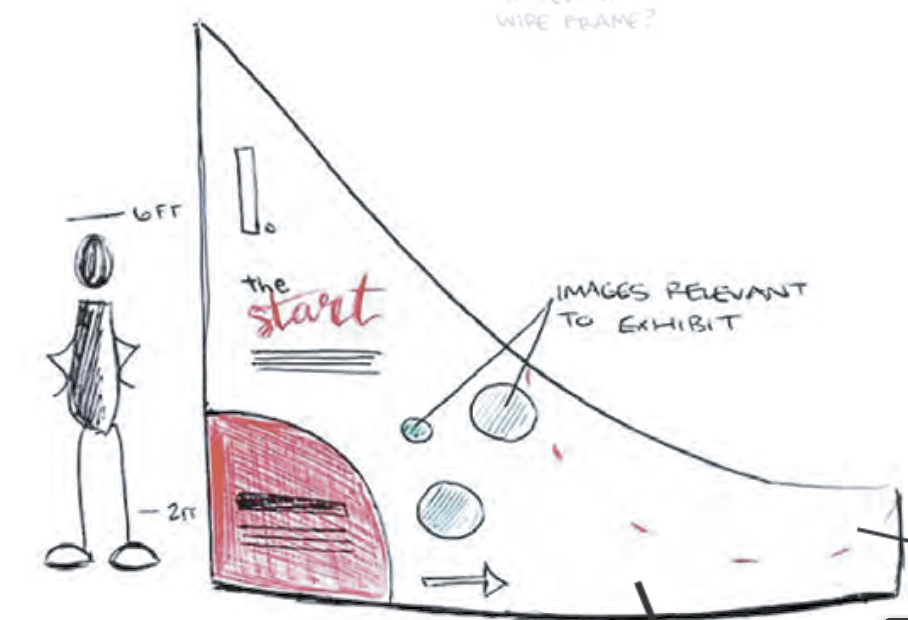
Downward-sloped entry
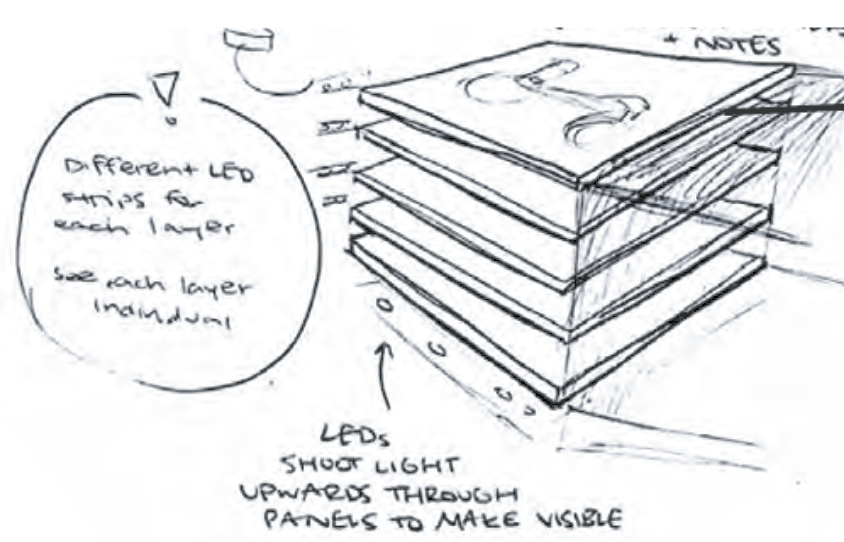
Layered panels with LED under glow to show different parts

Pick the type of motorcycle spinning table
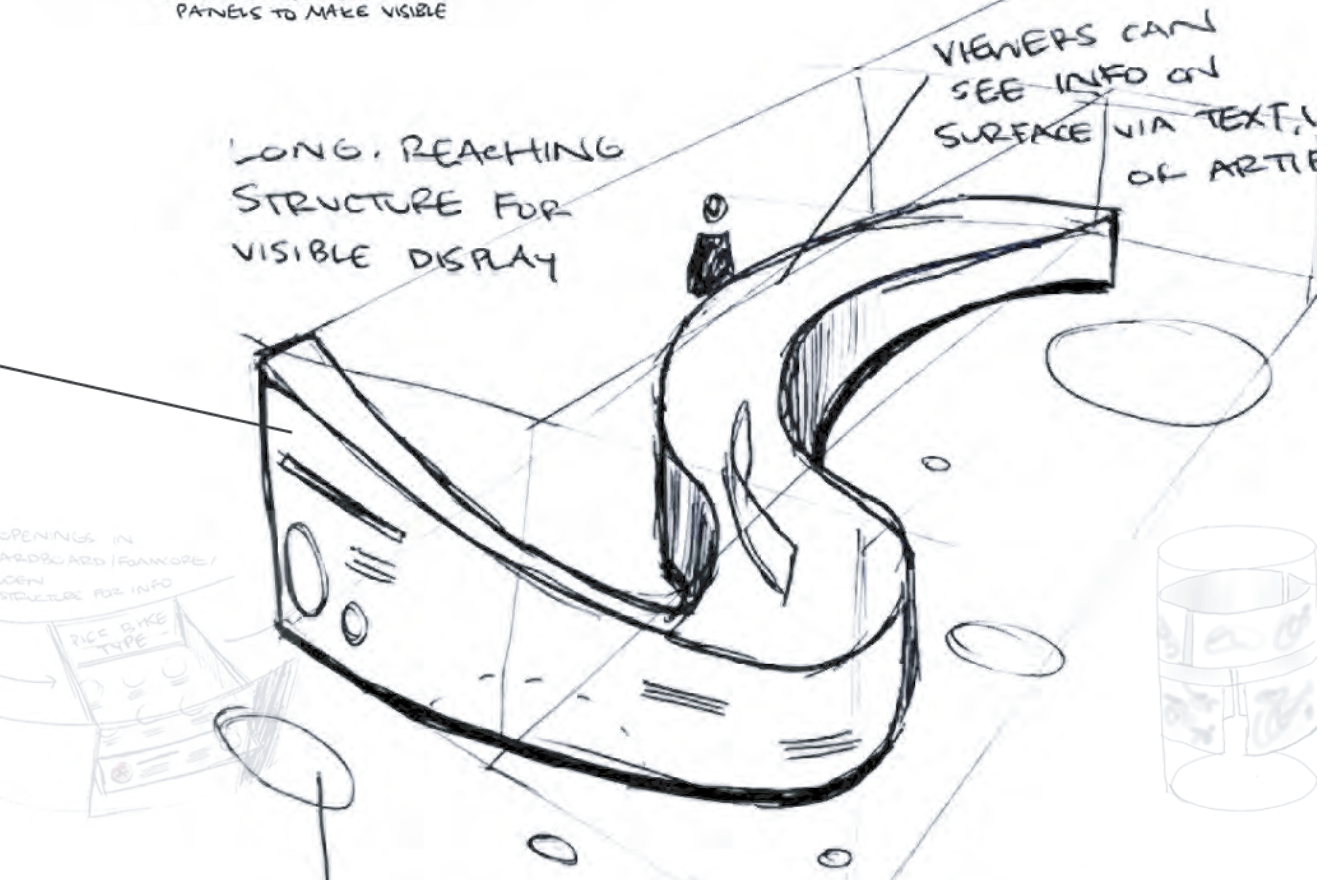
Segmented curves

Curved, hanging infographic panels
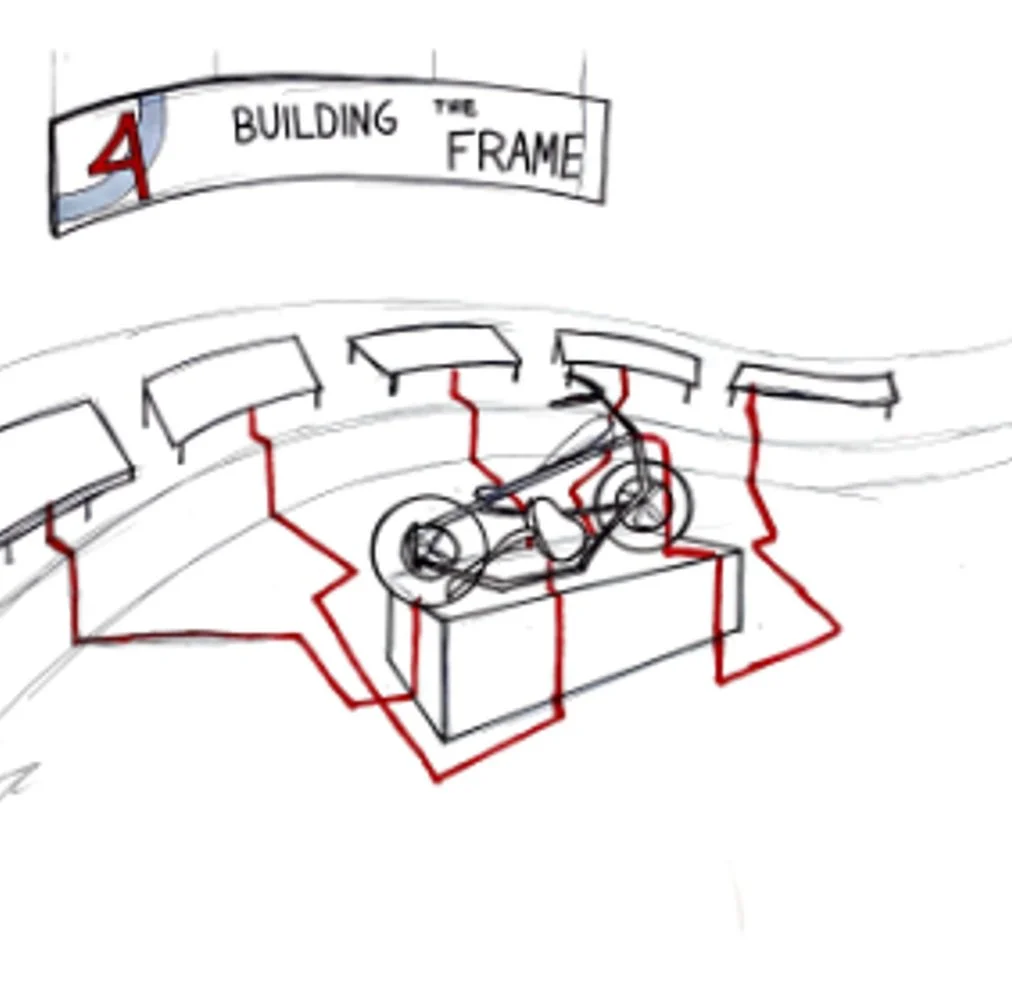
Motorcycle prototype with callouts
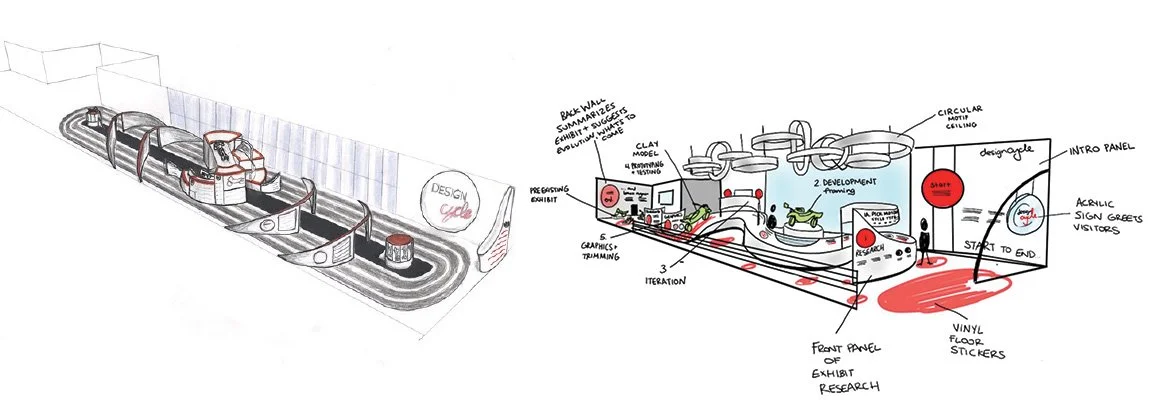
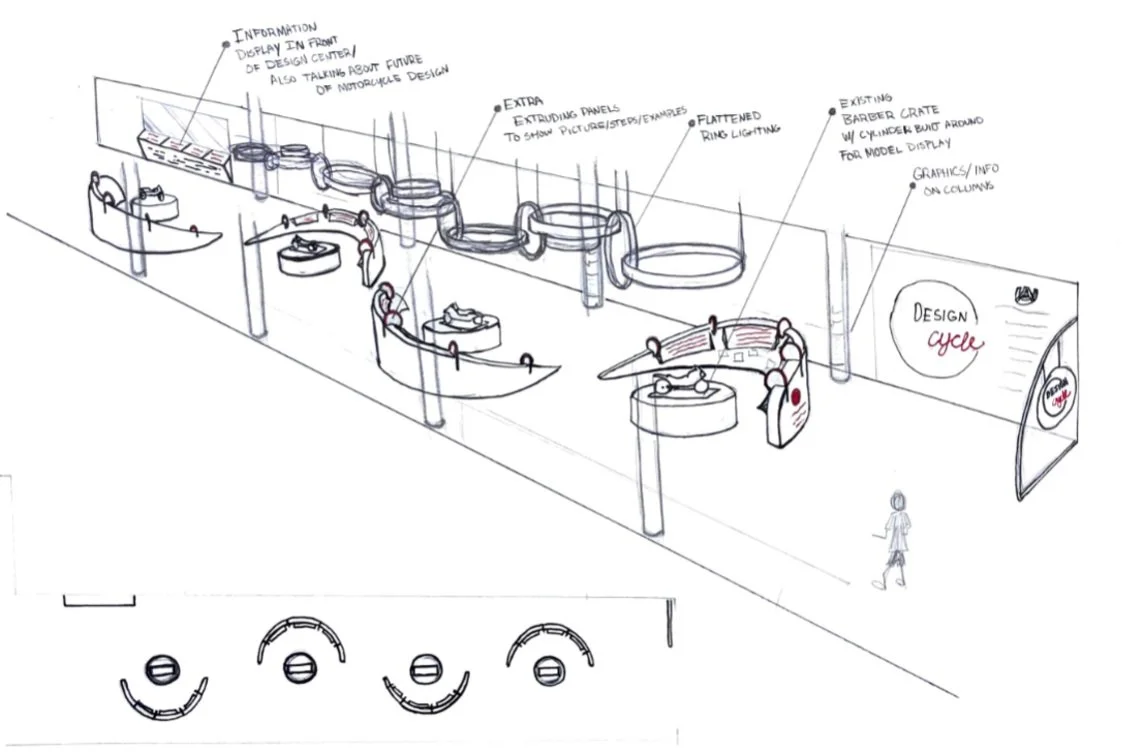
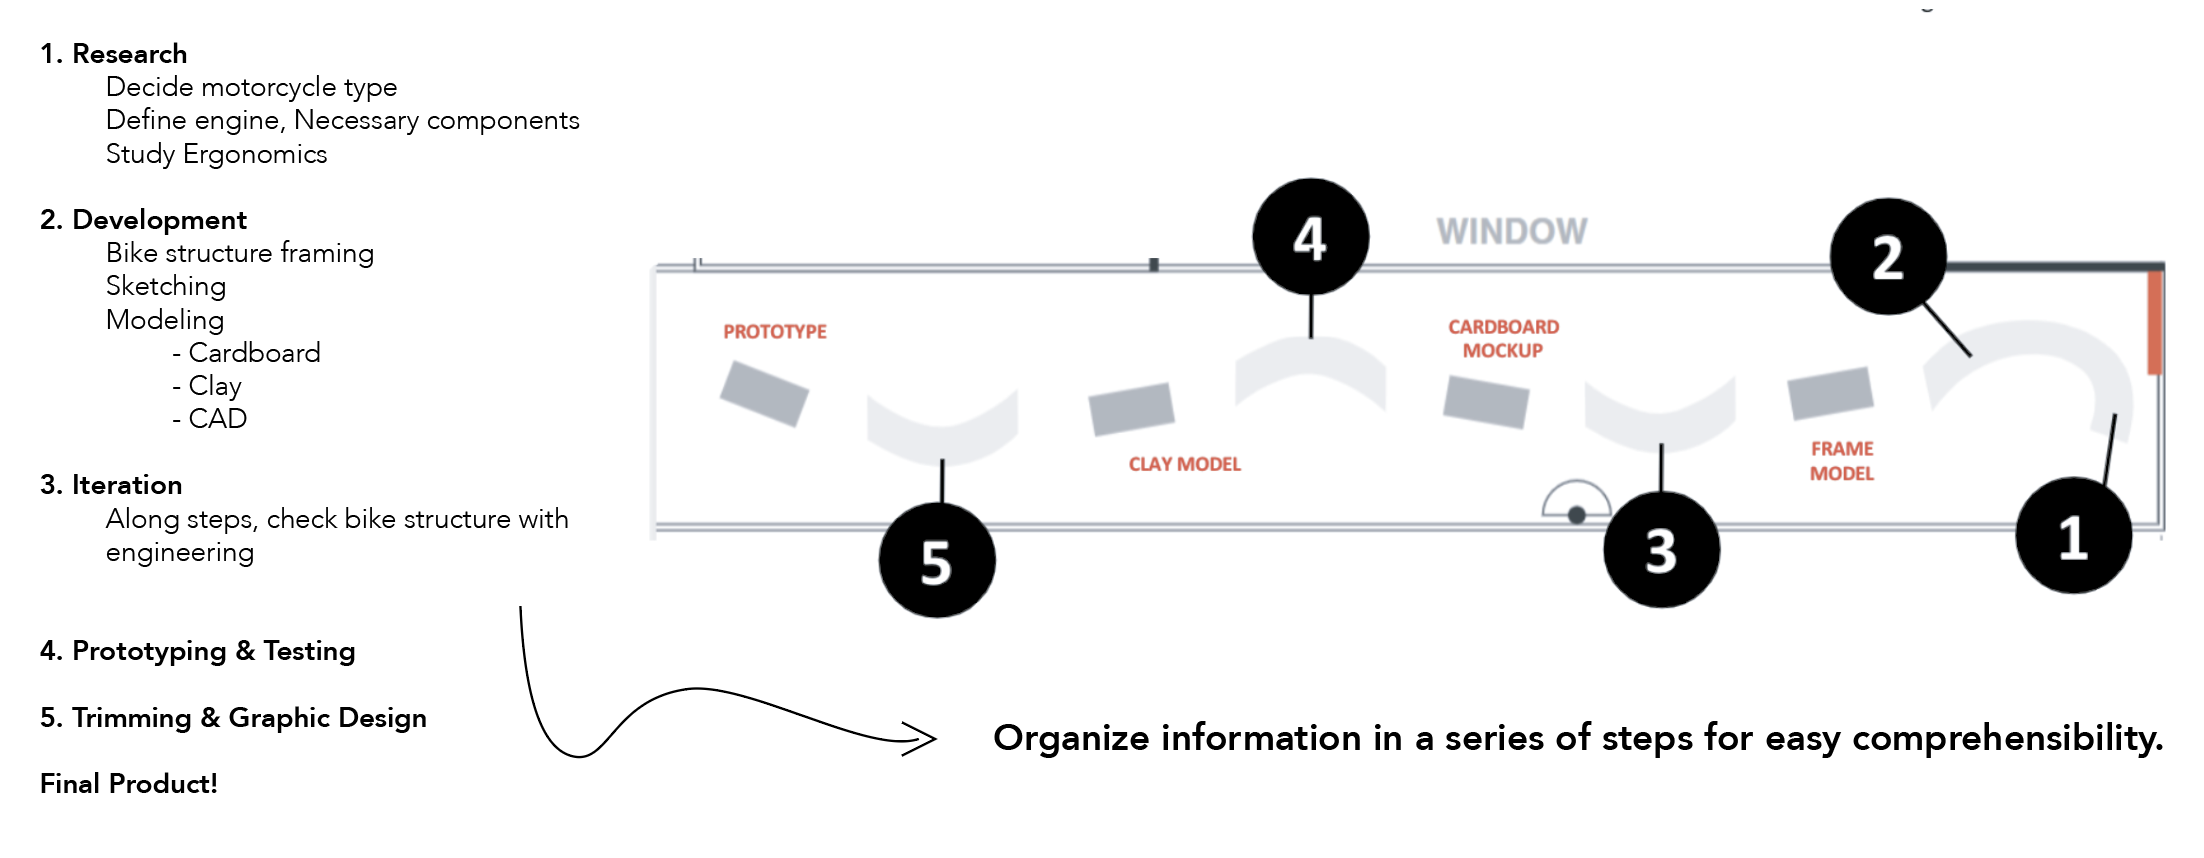
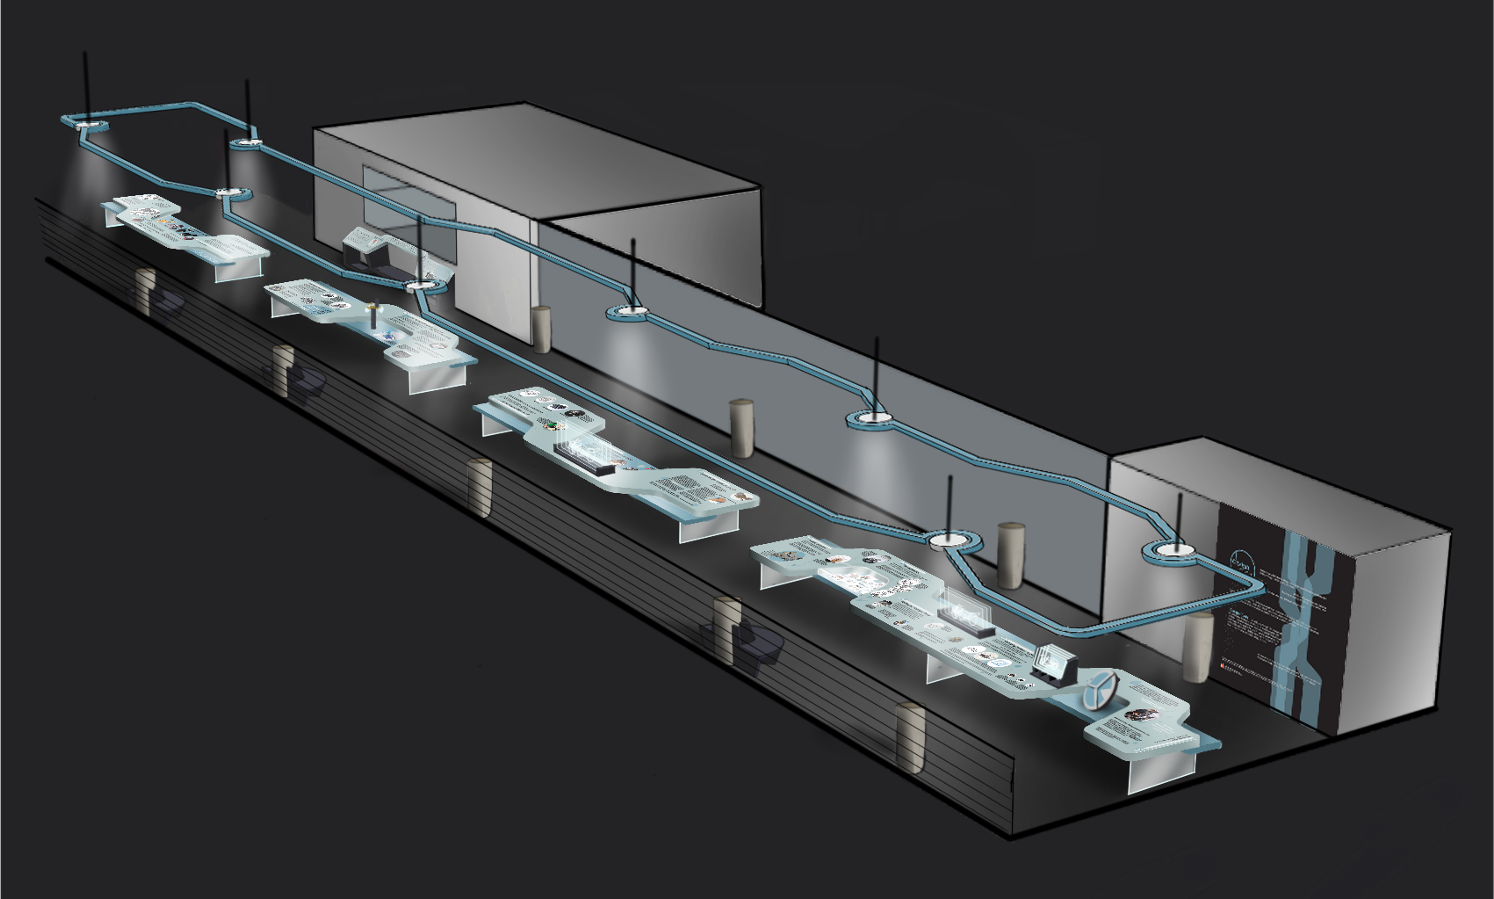
Exhibit Layout
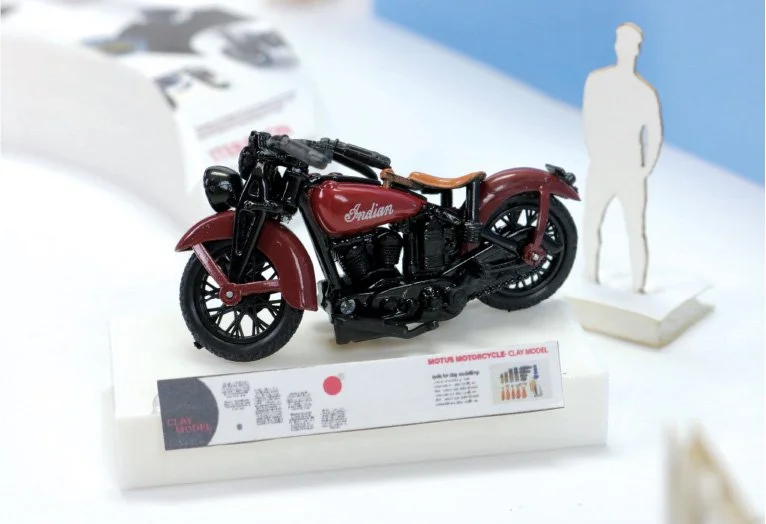
Phase 3 Model


Phase 4
Individual component design, final renders and final model.
Brian called a last-minute audible by merging Design Cycle’s name with another team’s exhibit concept/identity.
Final Exhibit
Each classmate designed their own portion of the final exhibit.
Step into Design by Nunns
Design Goals:
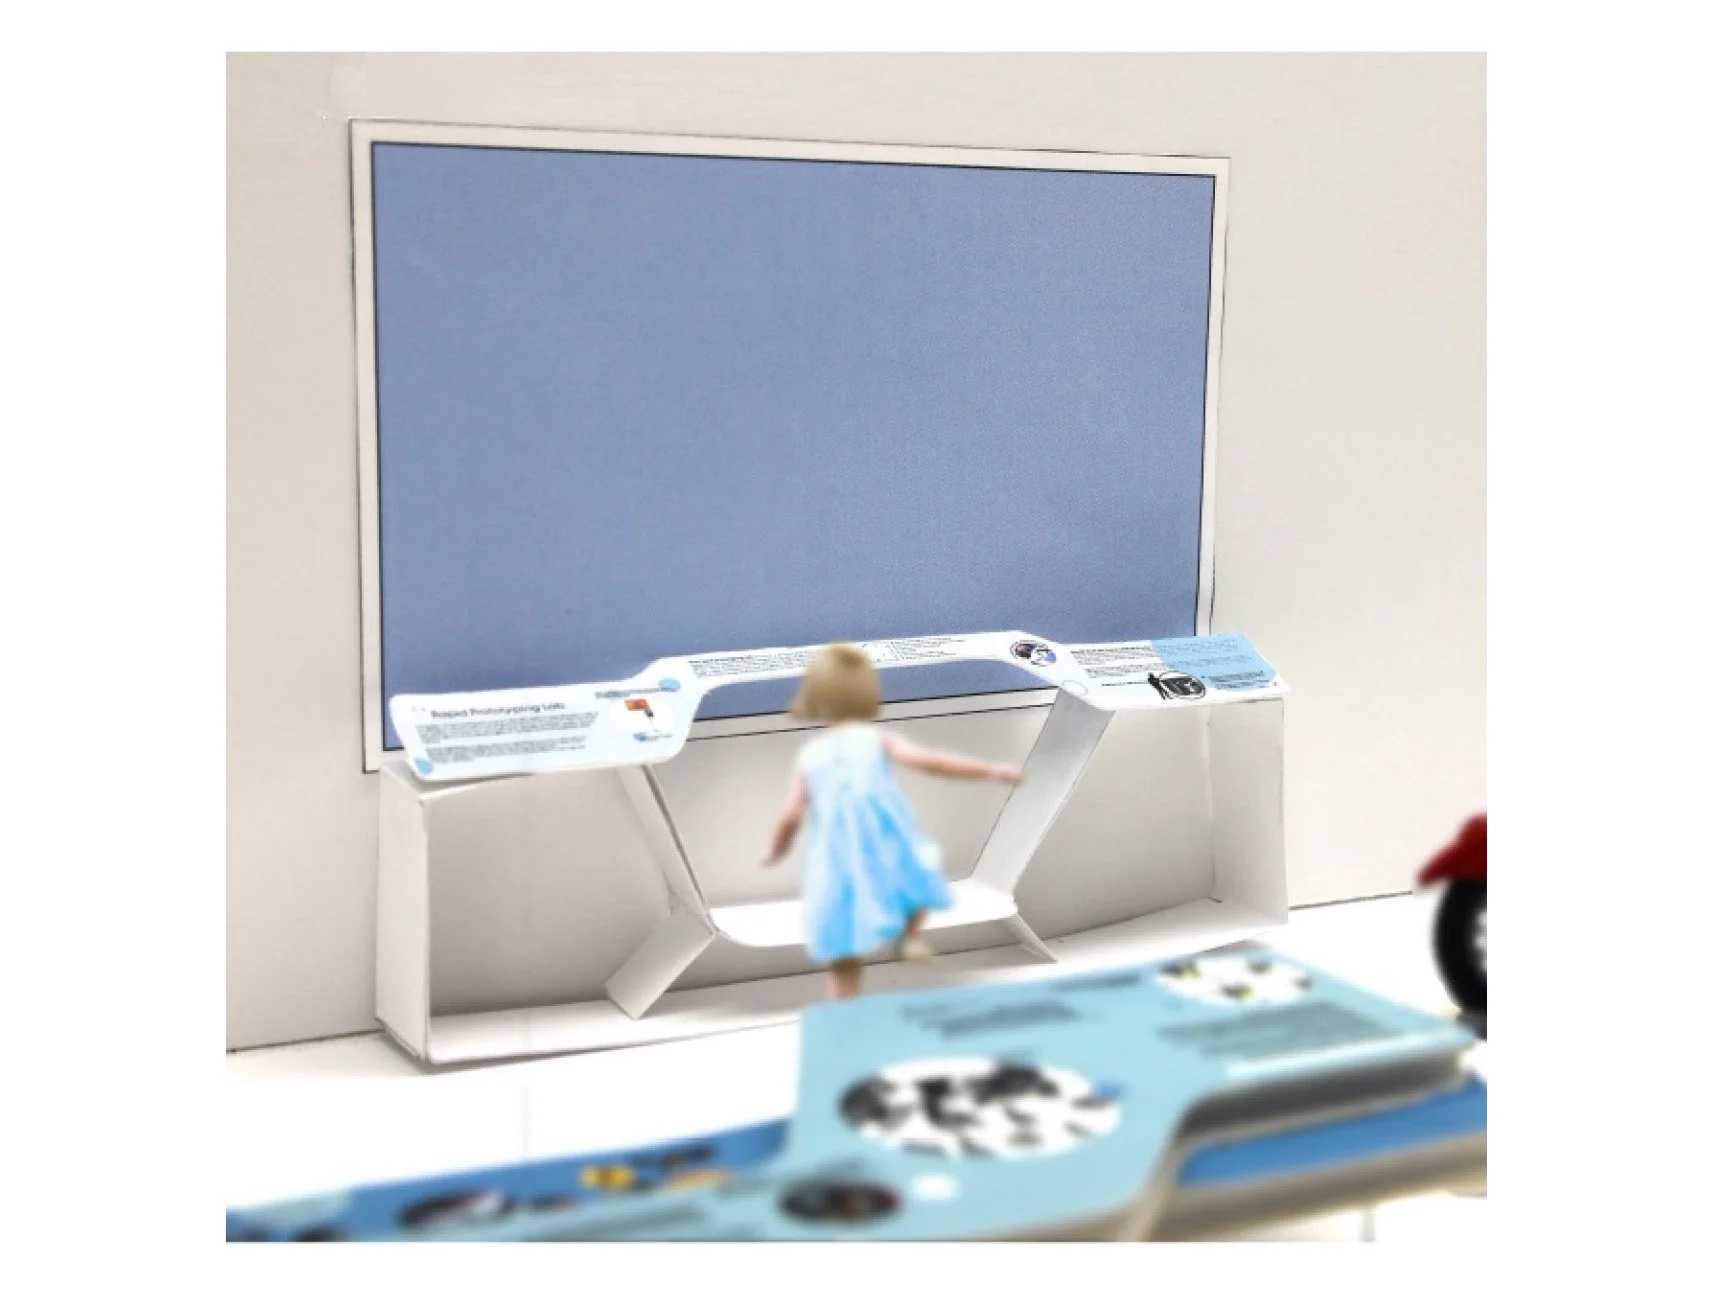
Create a step for children to get a better view into the window of the rapid prototyping lab.
Make it blend seamlessly with the rest of the exhibit.
Make it seem like they are stepping into knowledge with the infographic.
Development


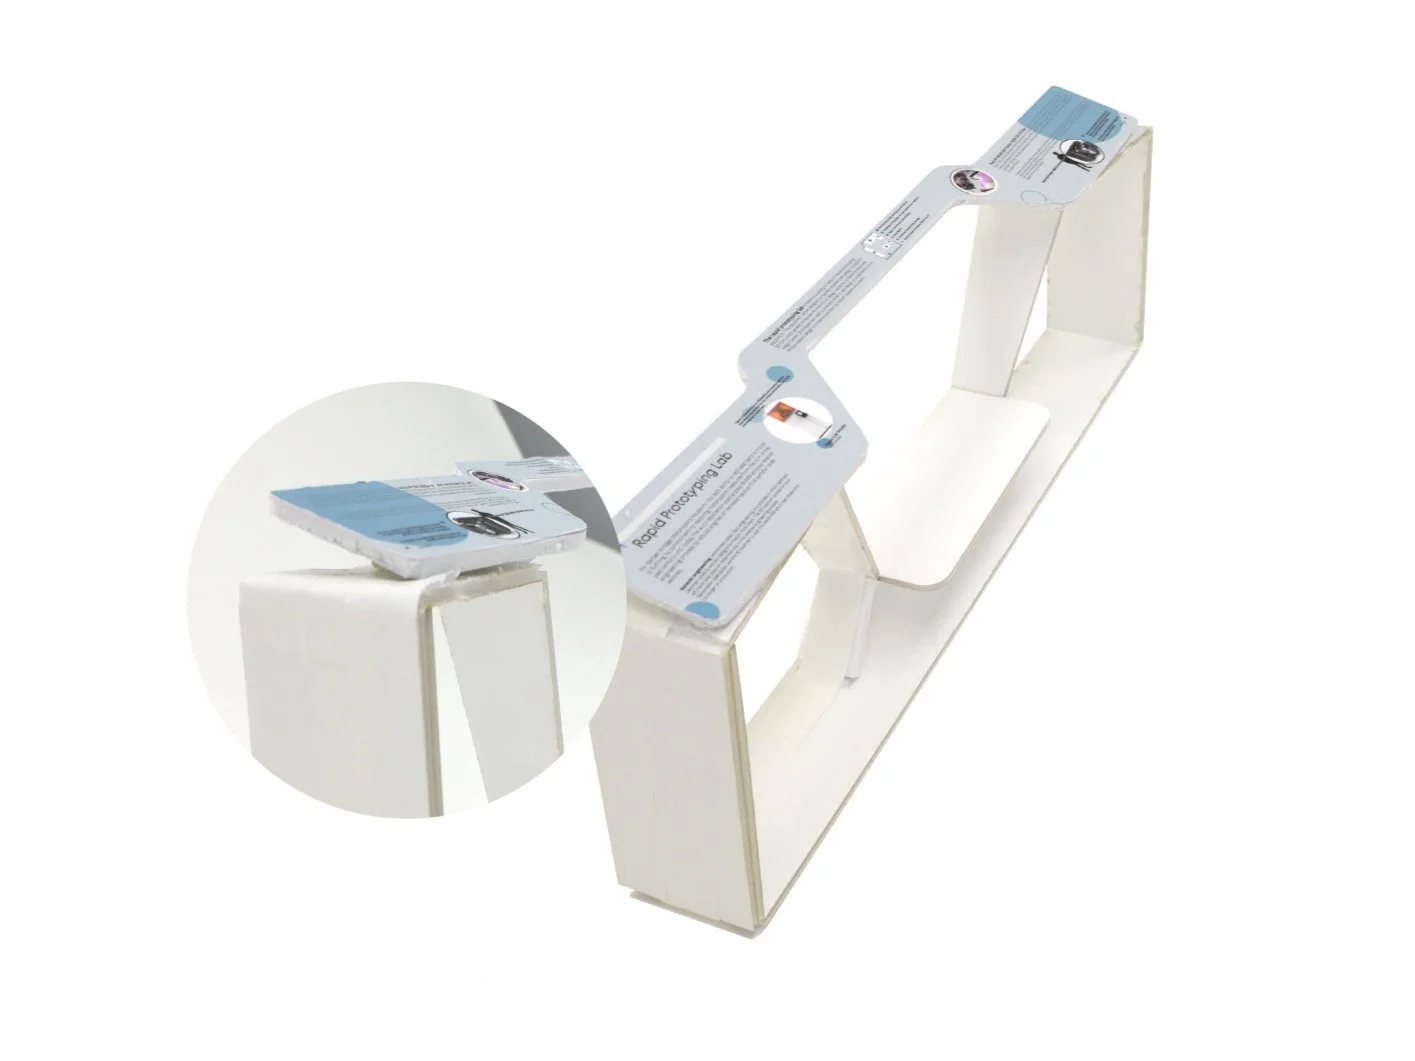
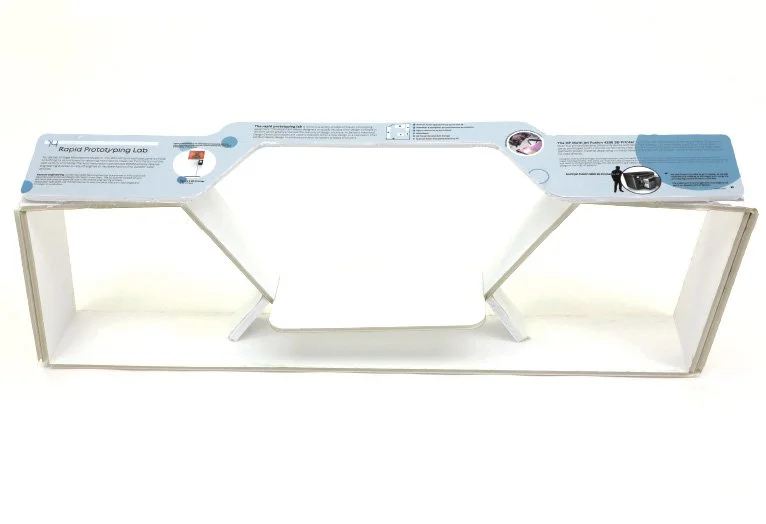
Angled infographic panel acts as a handrail for children, as well as allowing for easier reading consumption.
Step is 6” off the ground, average step height is usually around 7”-8”.
“Floating” step

Nunns’ Infographic
